Last Updated on September 8, 2026 by Tim L. | Founder of Pest Control Playbook | Reviewed for Scientific Accuracy by our Co-Founder, an Associate Certified Entomologist (ACE)
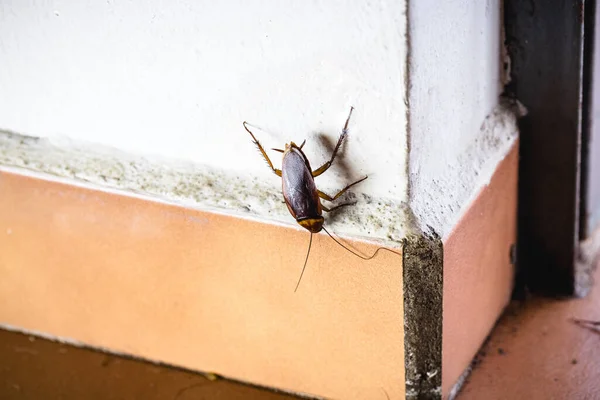
If you are seeing cockroaches dart behind your baseboards or emerge from behind electrical outlet plates, you are looking at the overflow of a hidden population. In our combined 40+ years of boots-on-the-ground pest management, we have inspected thousands of residential structures. This guide combines that deep, real-world field experience with the rigorous scientific training of our co-founder, an Associate Certified Entomologist (ACE).
The hard truth is this: treating only the visible surfaces of your home will never stop an active infestation. To completely eradicate a cockroach colony, you must extend your treatment directly into the wall voids where they harbor, breed, and hide from standard control measures. This handbook provides the precise field techniques, professional chemical selections, and structural application methods required to clean out wall cavities safely and permanently.
The Biology of Wall Cavity Harborages
To successfully eliminate cockroaches from structural voids, you must understand why they seek these zones out in the first place. From an entomological standpoint, cockroaches—particularly German cockroaches (Blattella germanica)—possess a biological trait known as thigmotaxis. This means they require physical contact with surfaces on both the top and bottom of their bodies. They do not simply sit in the middle of an empty wall cavity; they squeeze tightly into the structural gaps, framing joints, and microscopic spaces behind drywall.
Wall voids offer an ideal microclimate for colony development:
- Micro-Moisture Zones: Condensation forming on internal uninsulated plumbing lines provides a constant water source.
- Thermal Corridors: Heat radiating from refrigerator compressors, dishwashers, and water heaters warms the adjacent wall interiors.
- Protected Foraging Highways: Internal framing allows insects to travel from the kitchen to bathrooms, utility closets, or adjacent units without breaking cover.
💡 Professional Affiliate & Editorial Disclosure
Some links on this page are affiliate links, meaning a small commission may be earned on recommended professional-grade products (like pressurized backpack sprayers or commercial baits) at no extra cost to you.
Phase 1: Locating Active Breeding Voids
Before applying any professional-grade control products, you must isolate which wall cavities contain the primary nesting sites. Blindly treating every wall in a home is inefficient and wastes material.
1. Structural Conduits and Inspection Points
Focus your initial inspection on wall penetrations where utilities break through drywall or plaster. Check these high-risk areas immediately:
- The drywall cutouts behind kitchen cabinets where hot and cold water supply lines enter.
- The gaps surrounding the drain line beneath kitchen and bathroom sinks.
- The technical voids located behind dishwasher framing and stove kick-plates.
2. Identifying Structural Clues
Look closely for physical evidence left behind by foraging workers. Active wall voids will display distinct indicators around the perimeter edges of outlet covers, baseboards, and pipe escutcheon plates:
- Fecal Speckling: Small, dark spots that resemble finely ground black pepper or coffee grounds. This is pure digested organic matter and a definitive sign of heavy aggregation.
- Fecal Smearing: Dark, irregular streaks found on glossy surfaces or along wood joints where cockroaches squeeze through tight tolerances.
- Exuviae: Translucent, amber-colored shed skins left behind during the nymphal molting phases.
Phase 2: The Multi-Tiered Eradication Protocol
Standard over-the-counter liquid insecticide sprays fail inside walls. When liquid sprays are applied to baseboards, they cause a phenomenon known as flushing or structural scattering. The repellent nature of many residential pyrethroid sprays drives the colony deeper into the wall voids or pushes them laterally into bedrooms and living spaces, expanding the infestation zone.
Eradication requires a coordinated, non-repellent approach combining professional-grade gel baits and dry inorganic dusts.
Step 1: Establish a Perimeter Gel Bait Barrier
Before driving any products directly into the walls, you must place high-palatability gel baits along the external exit points. This ensures that any cockroach attempting to flee the structural voids consumes a lethal dose of a slow-acting active ingredient.
Apply gel bait in precise, matchhead-sized drops rather than long smears. Place these drops along cabinet hinges, the upper interior corners of drawer tracks, and directly adjacent to the points where plumbing pipes enter the drywall. This intercepts foraging insects as they emerge at night to look for food.
👉👉 How Long Does Roach Bait Take to Work? Read THIS Article Now
Recommended Gel Baits:
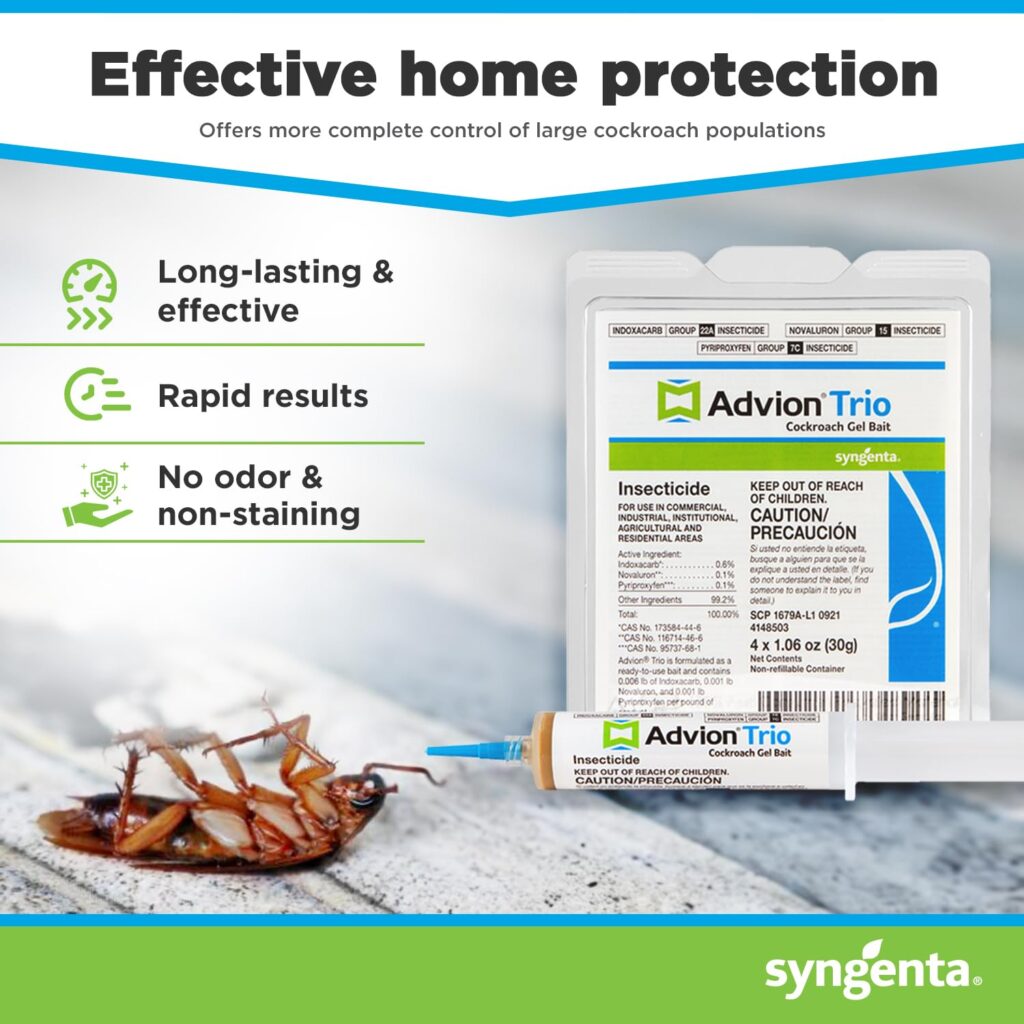
- Advion Trio Cockroach Gel Bait: Powered by Indoxacarb, this industry standard utilizes a highly attractive food matrix that spreads rapidly through the colony via secondary transfer.
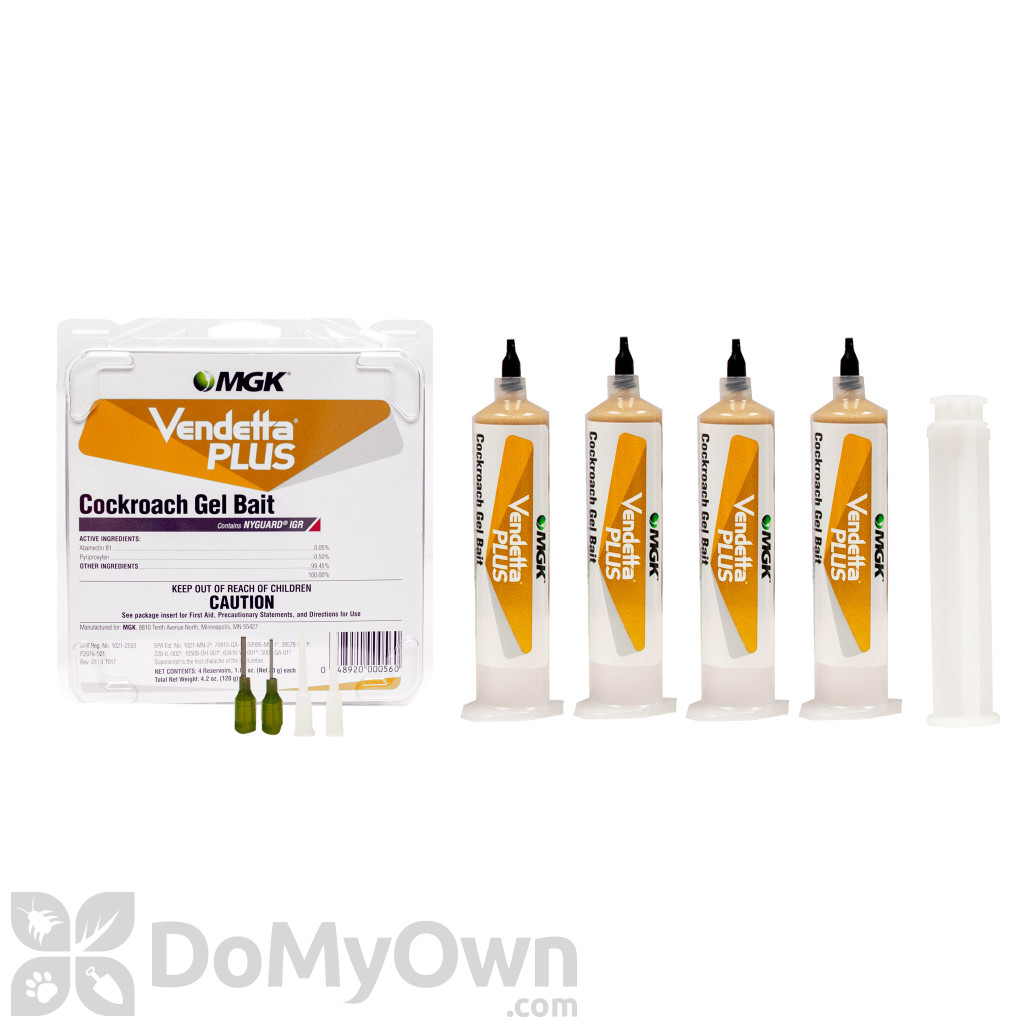
- Vendetta Plus Cockroach Gel Bait: Combines an advanced bait matrix with an insect growth regulator (IGR). It breaks the reproductive cycle while delivering a lethal dose to adult roaches, making it perfect for heavy infestations inside kitchen wall voids.
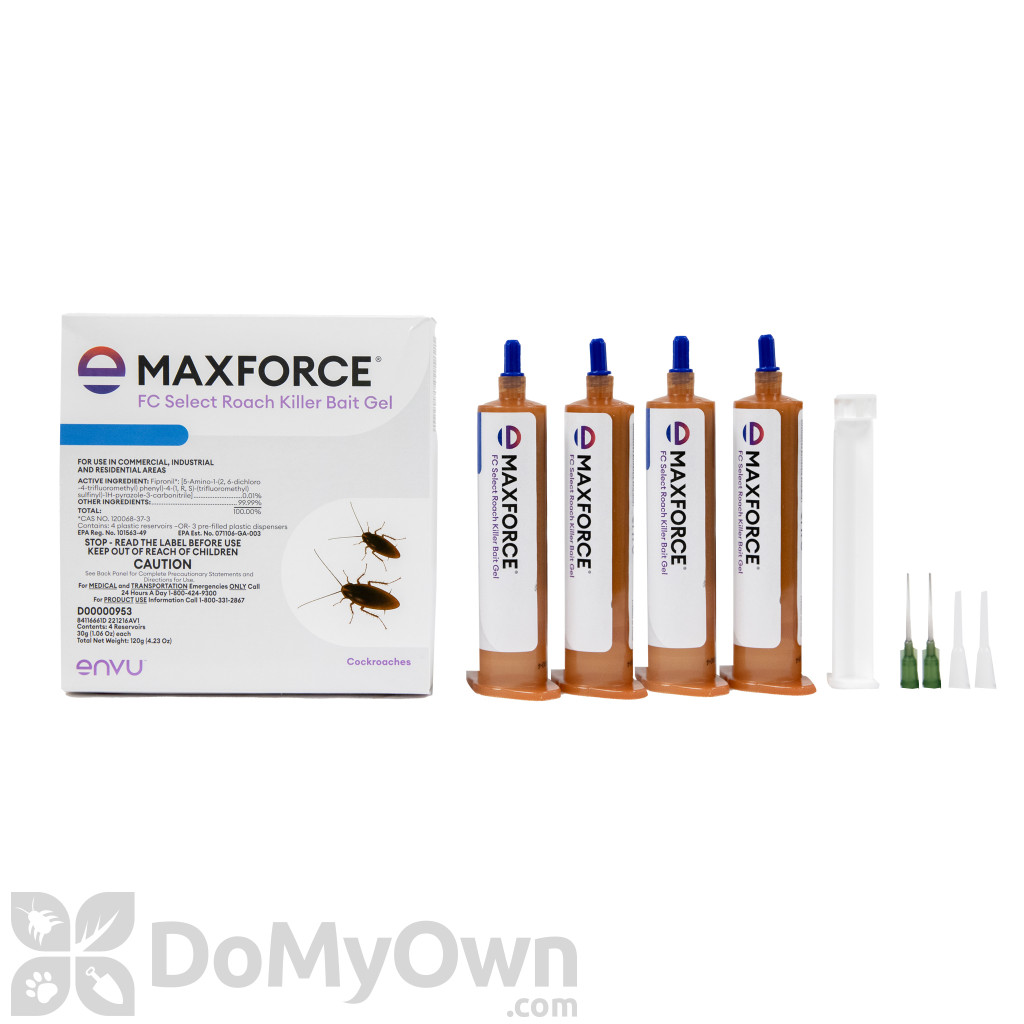
- Maxforce FC Select Roach Bait Gel: An odorless Fipronil-based gel that provides exceptionally fast control for German roaches. It works brilliantly even in environments with competing food sources.
🛒🥇 These are the Exact Roach Baits that We Use in the Field Everyday. 👇👇 Check availability and pricing on DoMyOwn Now 👇👇👇
Step 2: Injecting Dry Inorganic Dusts into Wall Voids
Dry insecticide dusts are the most effective long-term solution for structural voids. Unlike liquids, high-quality inorganic dusts do not degrade quickly; they remain active for months or even years if they are kept completely dry.
Required Application Tool:
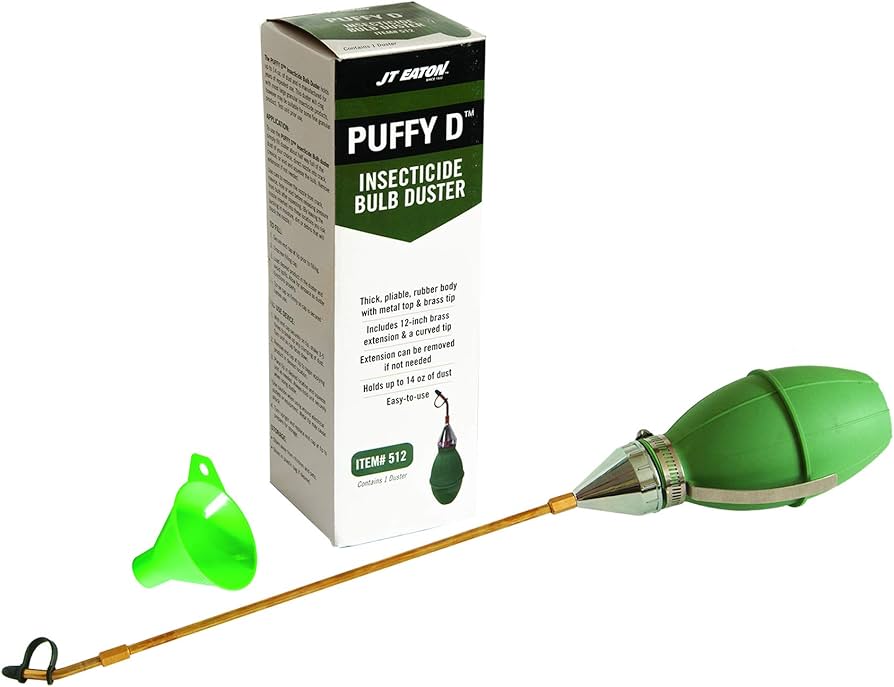
- Bellows Hand Duster: Never try to squeeze dust directly out of a retail plastic bottle. This results in heavy, thick clumps that cockroaches will simply walk around. You must use a professional bellows duster equipped with a non-conductive plastic tip to create a fine, floating suspension cloud inside the cavity.
🛒🥇 This is my Go-To Dust bulb. Simply fill with your favorite insecticide dust, add a marble sized rock to prevent clumping, and apply 👇👇👇 Check prices on DoMyOwn Now 👇👇👇
Recommended Insecticide Dusts:
- BorActin Insecticide Powder: A premium, non-clumping 99% boric acid superfine dust. It acts as a highly effective stomach poison when cockroaches groom it off their legs.
- D-Fense Dust Insecticide: A powerful Deltamethrin-based dust that features an effective knockdown and long-lasting residual of up to eight months if not disturbed. This dust is completely moisture-resistant and won’t clump in humid wall cavities.
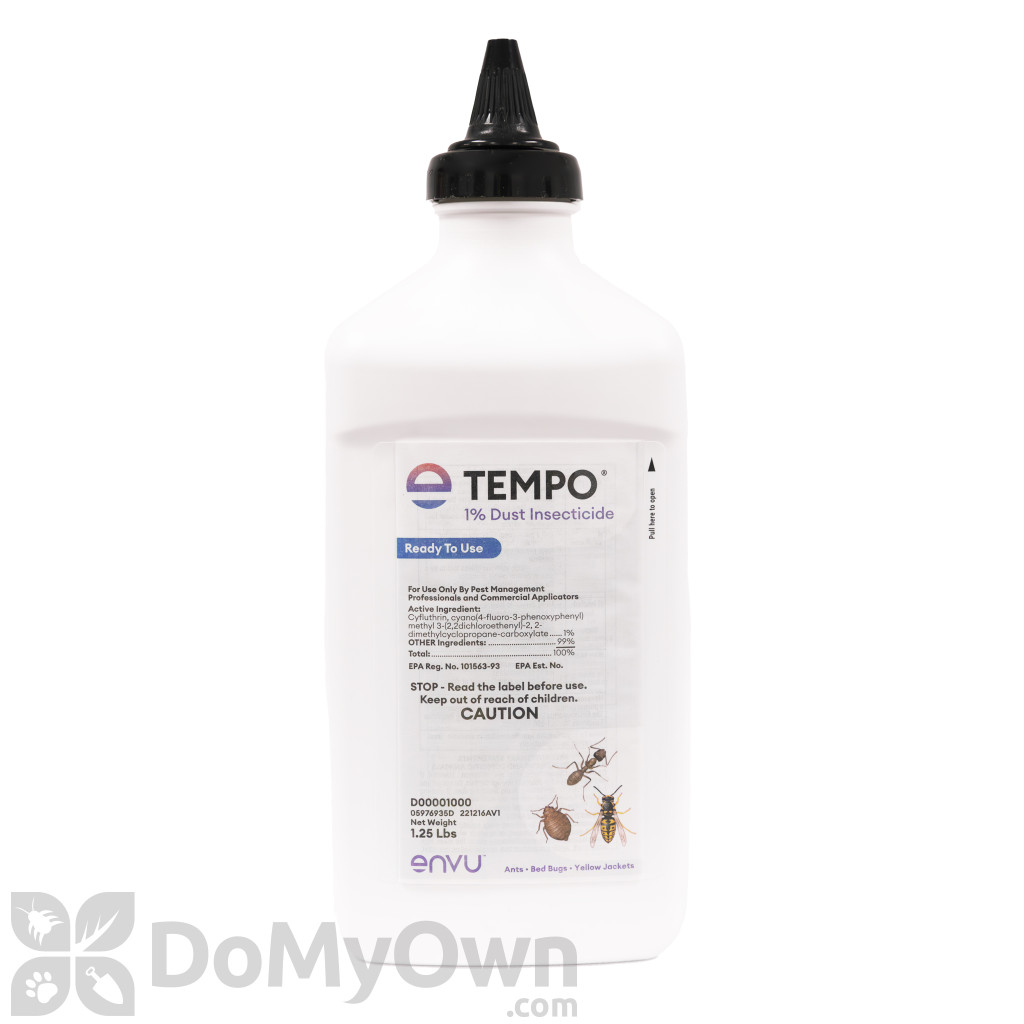
- Tempo 1% Dust: A fast-acting Cyfluthrin dust that delivers an immediate knockdown of pests in difficult, hard-to-reach technical voids. This Dust I Use Daily! Highly Recommended!!
🛒🥇 Check availability on DoMyOwn Now. 👇👇 I Use This Dust Daily 👇👇
Application Technique: Outlets and Switches
- Cut the Power: Locate the main circuit breaker panel and shut off all electrical power to the specific room you are treating. Verify the outlet is dead using a non-contact voltage tester.
- Remove the Plates: Unscrew the plastic faceplates from electrical outlets and light switches along the target wall.
- Insert the Probe: Place the plastic tip of your bellows duster into the small gap between the electrical junction box and the surrounding drywall. Do not insert the tip directly inside the electrical box where the wires connect.
- Deliver the Dose: Give the bellows a quick, gentle puff. This releases a fine, smoking cloud of dust that drifts throughout the entire hollow stud bay, coating the interior framing surfaces evenly.
Application Technique: Creating Technical Access Points
If you are dealing with a severe infestation inside a wall void that lacks electrical outlets (such as a structural plumbing chase or a long hallway), you must create manual injection ports.
- Select the Drill Site: Choose a location low on the wall, roughly 2 to 3 inches above the baseboard, centered between two structural studs.
- Drill a Pilot Hole: Using a handheld drill, make a small 1/4-inch pilot hole cleanly through the drywall.
- Inject the Dust: Insert the nozzle of your bellows duster into the hole and deliver two firm puffs of dust.
- Seal the Access Port: Immediately close the hole using a plastic snap-in hole plug or a small dab of paintable elastomeric caulk to prevent any dust from drifting back out into the living space.
Phase 3: Long-Term Structural Exclusion
Once the internal colony population has collapsed, you must implement structural exclusion protocols to guarantee that neighboring roach populations or outdoor pests cannot re-colonize the empty wall voids.
1. Sealing Plumbing Penetrations
The large, rough cutouts behind sinks and laundry connections are the primary entry paths for pests. Do not rely on standard caulk alone for large structural openings.
- Fill wide gaps surrounding copper, PVC, or galvanized pipes with 304 stainless steel mesh fabric or copper stuffing mesh. Cockroaches and rodents cannot chew or push through this material.
- Overlay the stuffed mesh with a high-durability, non-shrinking elastomeric caulk or expanding polyurethane foam to create an airtight, moisture-proof seal.
2. Baseboard and Floor-to-Wall Joint Treatment
Over time, houses settle, creating hairline gaps between the bottom of the drywall and the subfloor. Squeeze a continuous bead of high-grade silicone latex caulk along the top and bottom edges of all baseboards in the kitchen, bathrooms, and laundry utility rooms. This seals off the exit and entry routes completely, locking out future infestations.
About The Authors
This guide was developed by a team of pest control professionals with over 40 years of combined, boots-on-the-ground field experience in both residential and commercial structures. To provide the highest standard of accuracy for DIY homeowners, all technical procedures, chemical selections, and behavioral breakdowns are reviewed and validated by our co-founder, an Associate Certified Entomologist (ACE) certified by the Entomological Society of America. Our mission is to deliver practical, field-tested advice that completely resolves structural pest issues safely and effectively.